SweetChar
Sweet Shoppe SugarBabe
Sarah (Sarah4883) asked me about the technique of blending the photo into the background. So...
Hi Sarah.
")
I'll dig in a little (or a lot?) on blending a photo into the background. I don't actually use the technique frequently because I'm not super proficient at it. lol I went browsing through my gallery to find some examples and, sometimes, it was page after page after page before I came across one. But it sure was fun looking at my layouts. Strolling down memory lane. Okay, back to the topic.

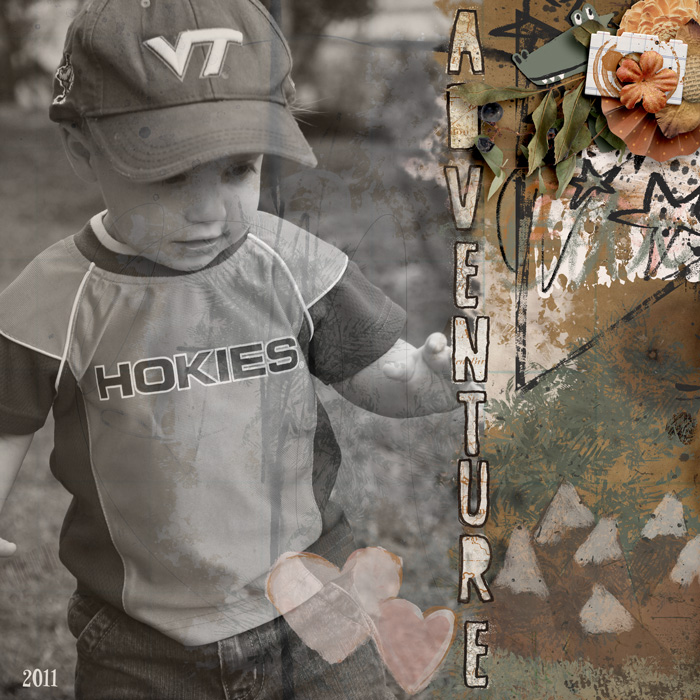
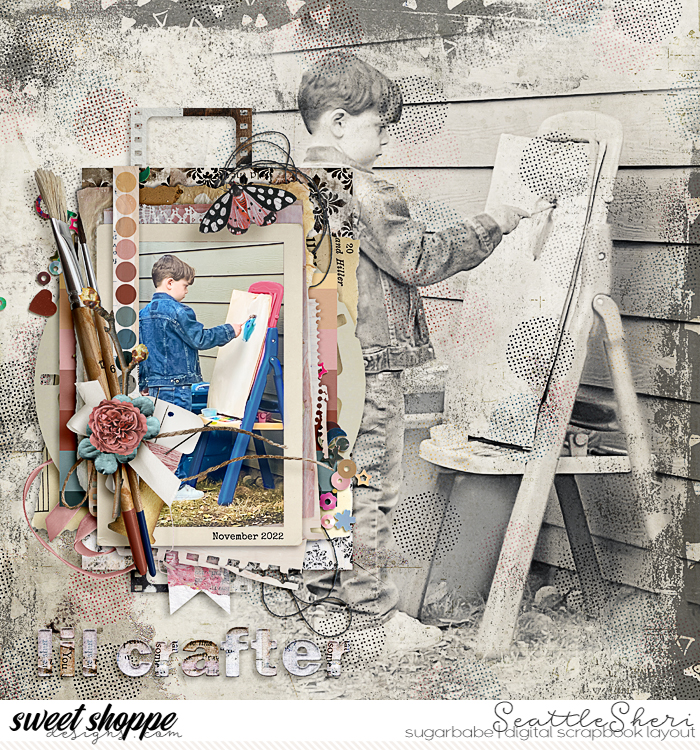
In general, I think the technique works better with some pictures more than others. I'm guessing you use Photoshop and suggest you grab several different pictures and a kit with a variety of papers and play, play, play! I thought I was going to be suggesting to change your pictures to black & white or sepia first. But...I realized when looking through mine, that I don't do that. lol I did on one. In the picture above, I probably desaturated it. Also, different papers behind the picture change things up drastically. Some work well, some don't.
By the way, I don't save my layered files of my layouts.
I know that most everyone does and that's probably a topic for a whole 'nother thread. lol I mention that because I can't open layered files and tell you exactly what I did with any of the blended pictures. For me, it helps to have a picture that will span the page or one where there isn't much going on around the main subject of the picture. Then, play around with adjustments to your picture like Levels, Brightness, Saturation, etc. Then play around with blend mode of the layer. The default is "normal" so check them all out: multiply, linear burn, color dodge, overlay, screen, etc. There's a lot to choose from! Also play with the opacity of your picture layer.
If the picture spans the page, then great! Easy! If it doesn't, then you'll want to use a layer mask and a soft edged brush or grungy brush. I usually lower the opacity of the brush. Well, at the first pass around the edges, I might have it at 100%. Then each time I go, I lower the opacity. Some people might use the gradient tool to fade out the bottom (or top or side) of a picture. I haven't messed with that in ages so I don't know. I assume it's still an option. lol
Here's some for more inspiration (I started with thumbnails but decided to come back full size lol) with a few thoughts:
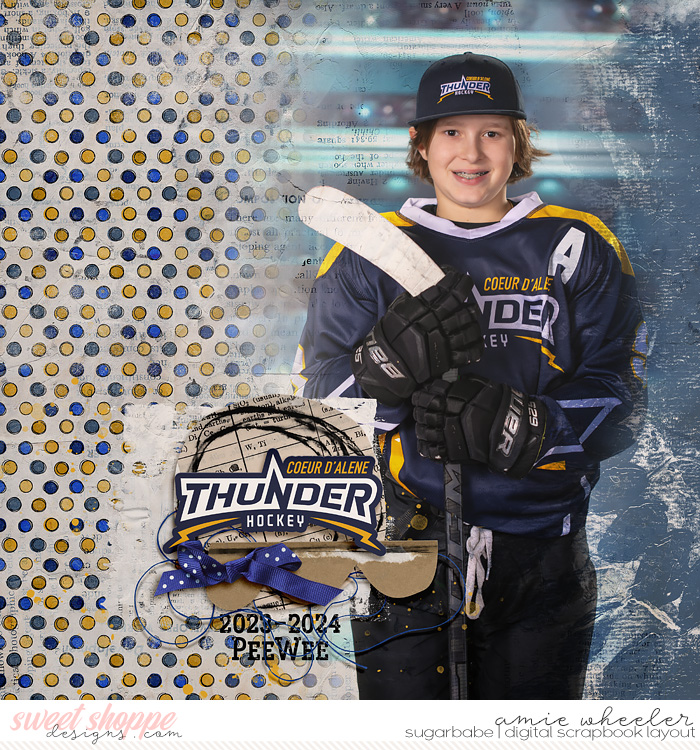
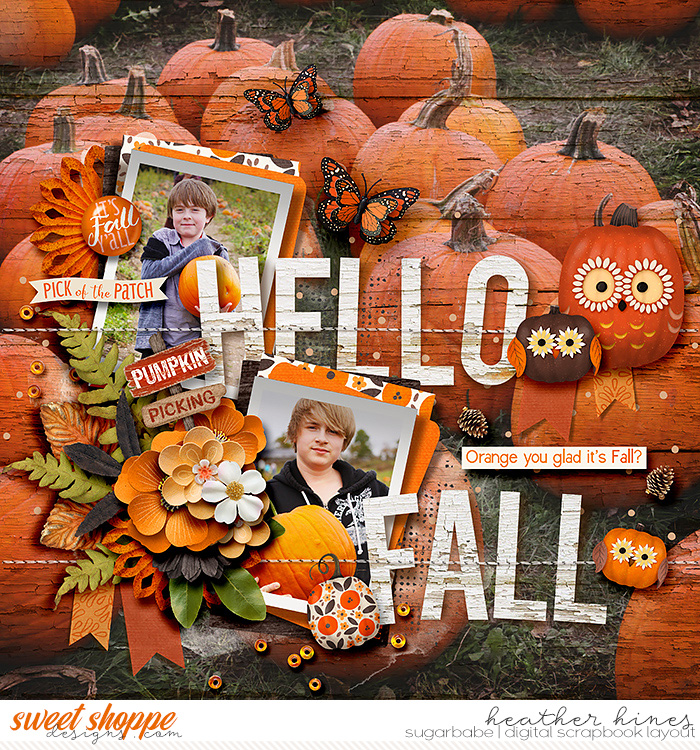
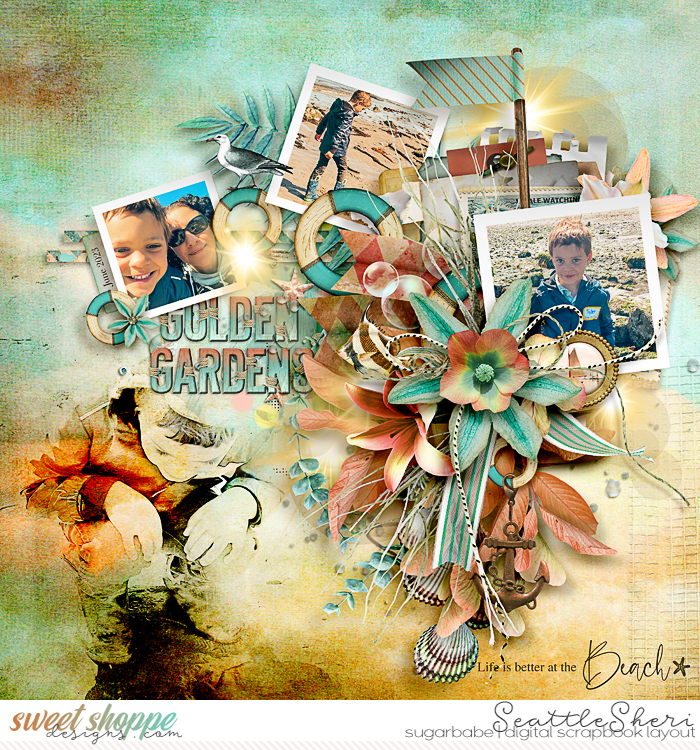
This one spans the page so I didn't worry about the edges. The bottom is covered up by papers and elements.
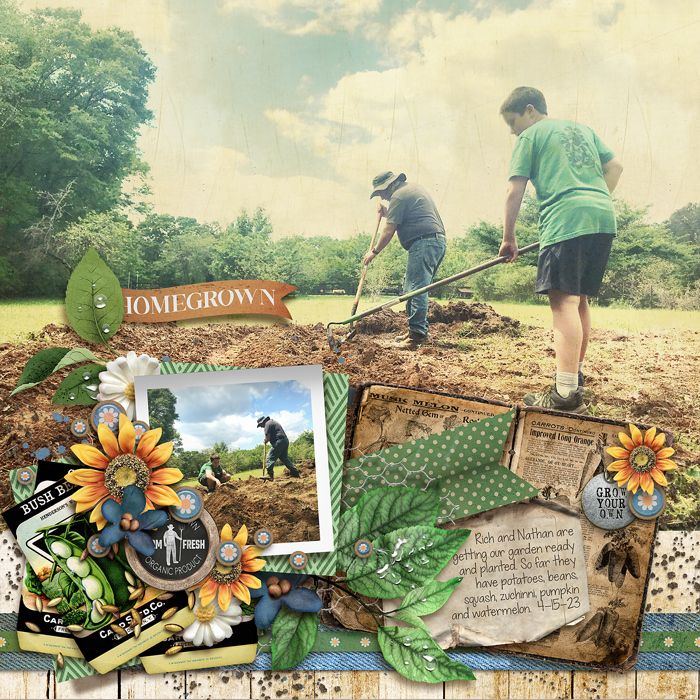
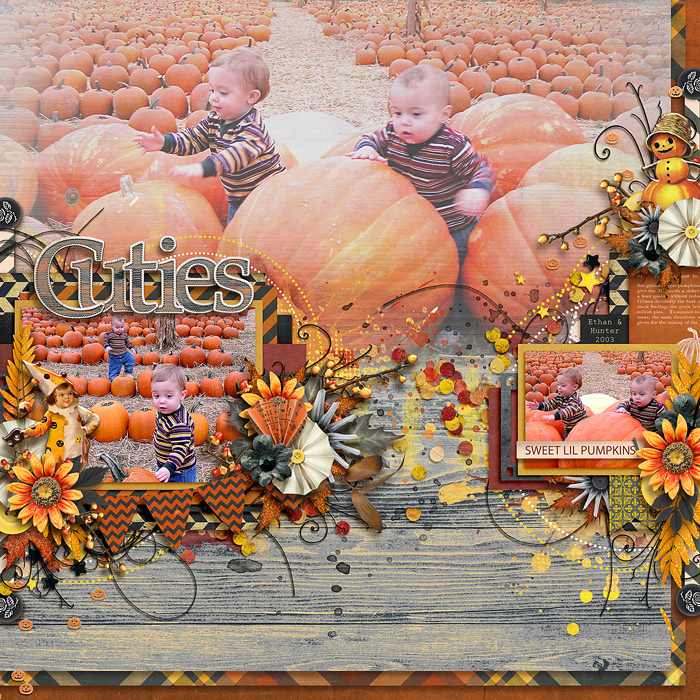
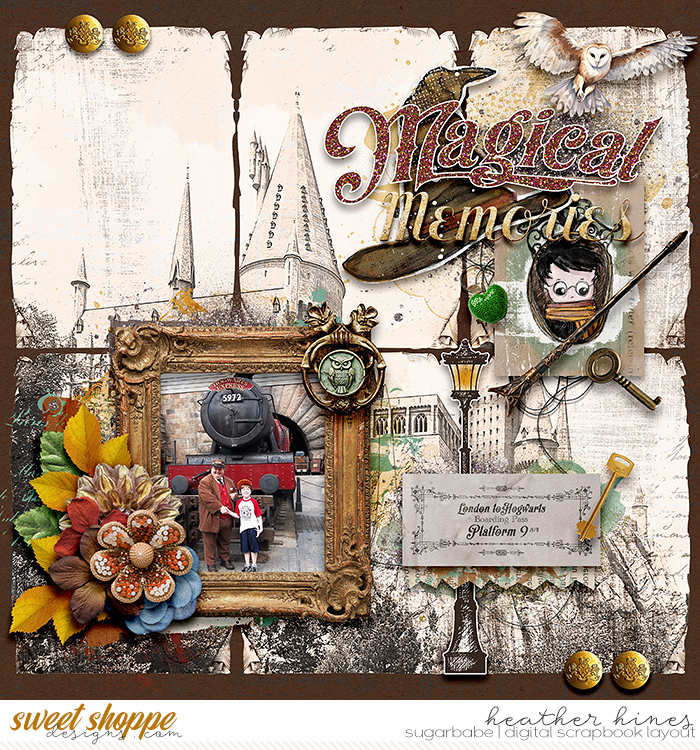
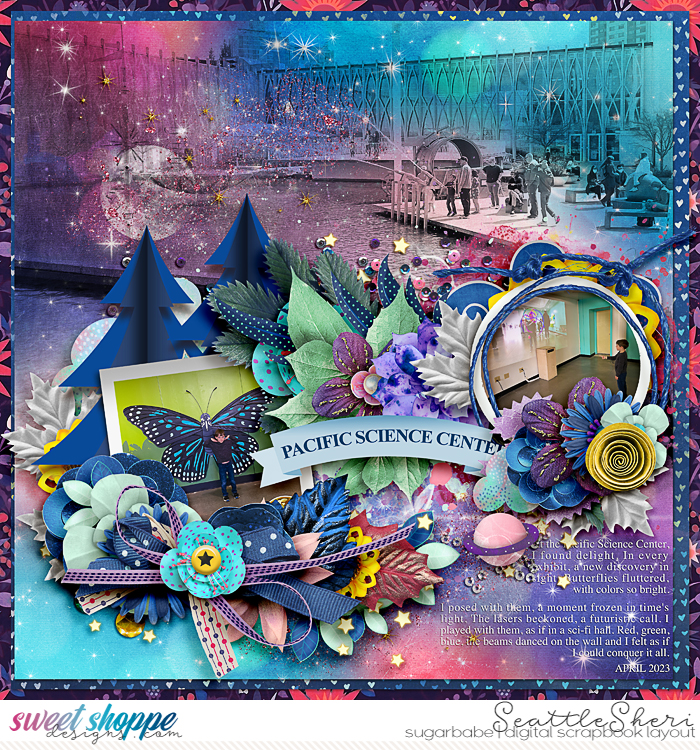
I liked having the texture of the paper (under the photo) show up in this one.
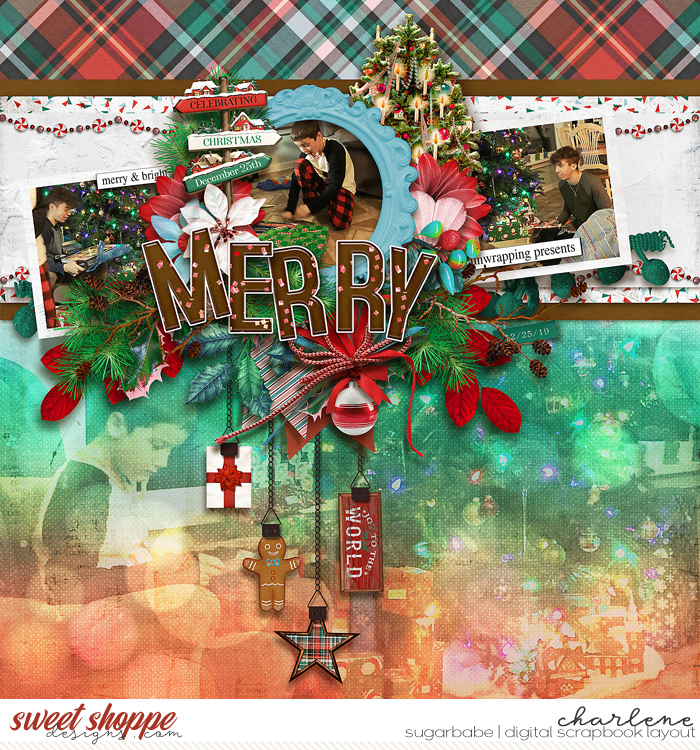
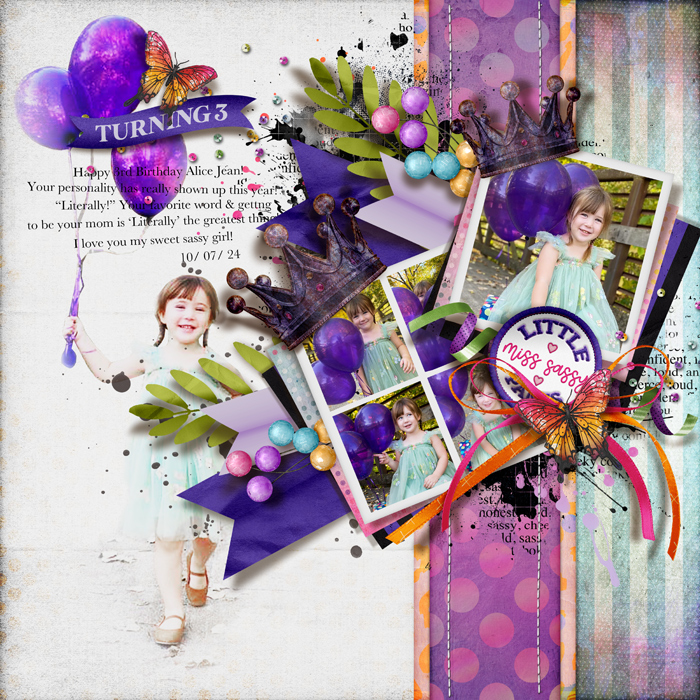
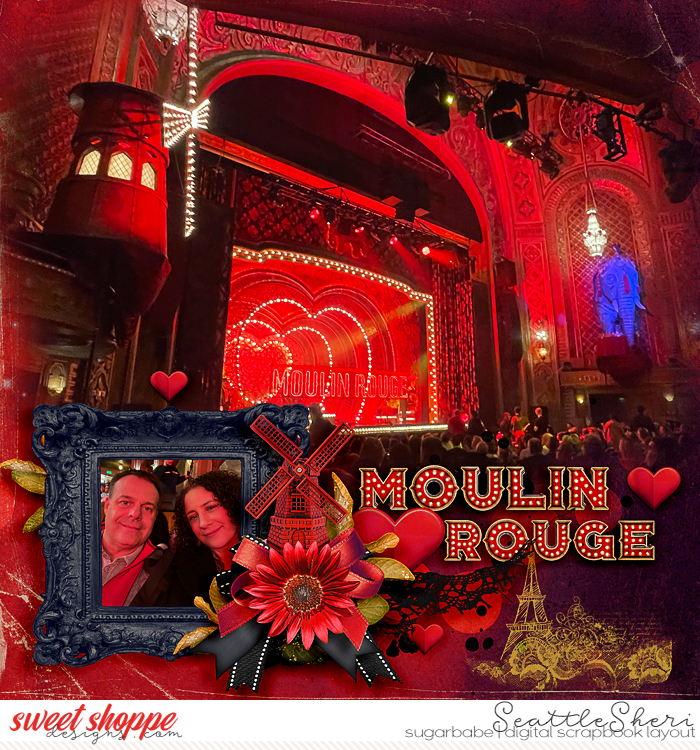
You can go subtle or BOLD. lol
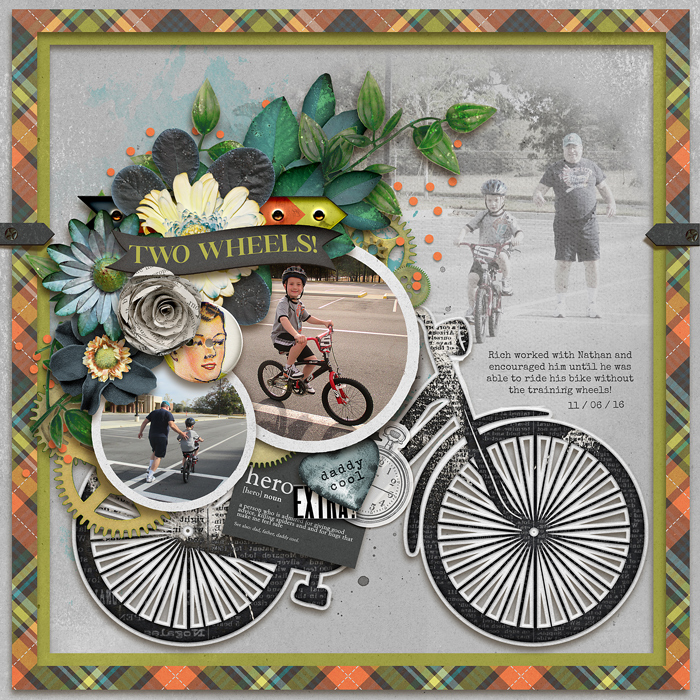
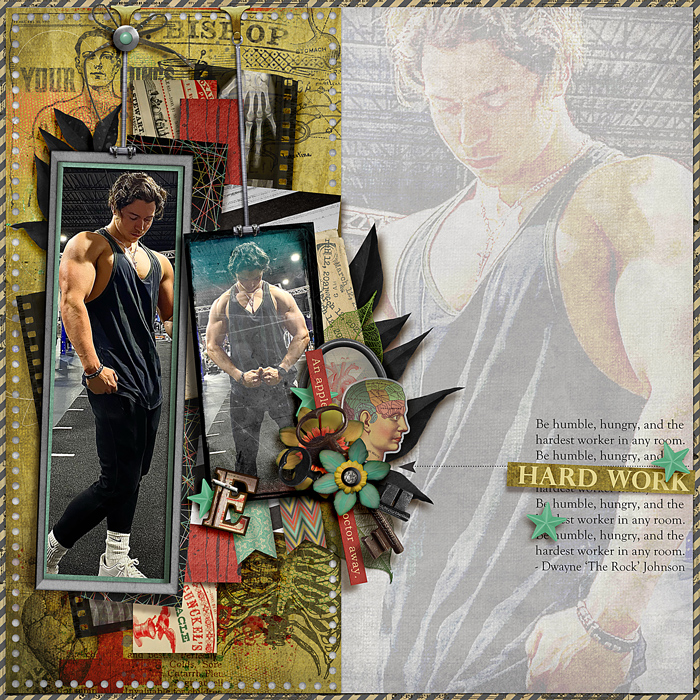
Probably lowered the opacity of this image as well as played with blend modes. Wanted lots of the wood to show through.

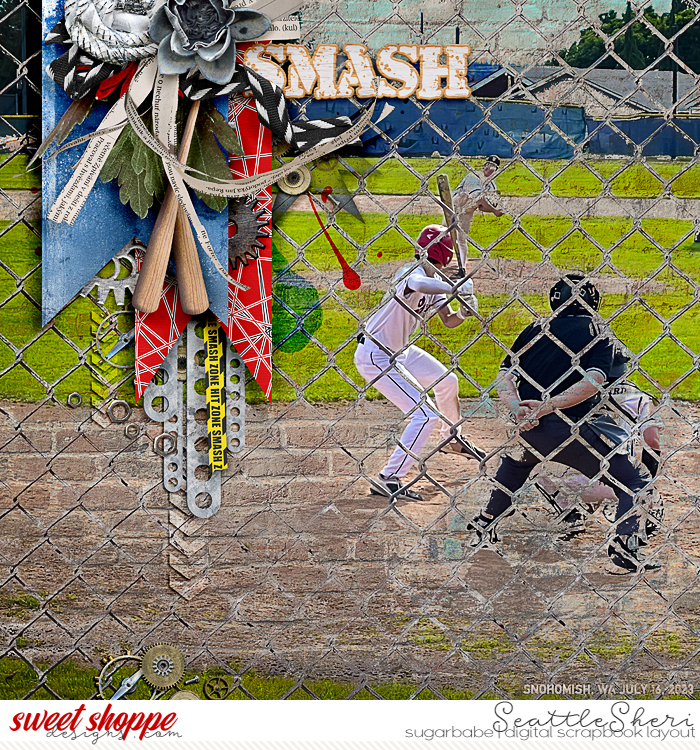
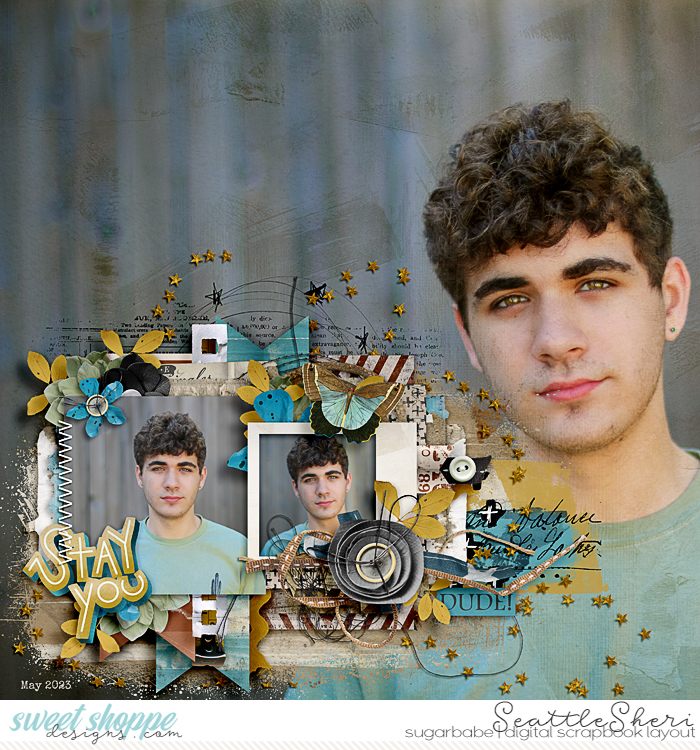
Used a layer mask to brush away the right side of the picture.
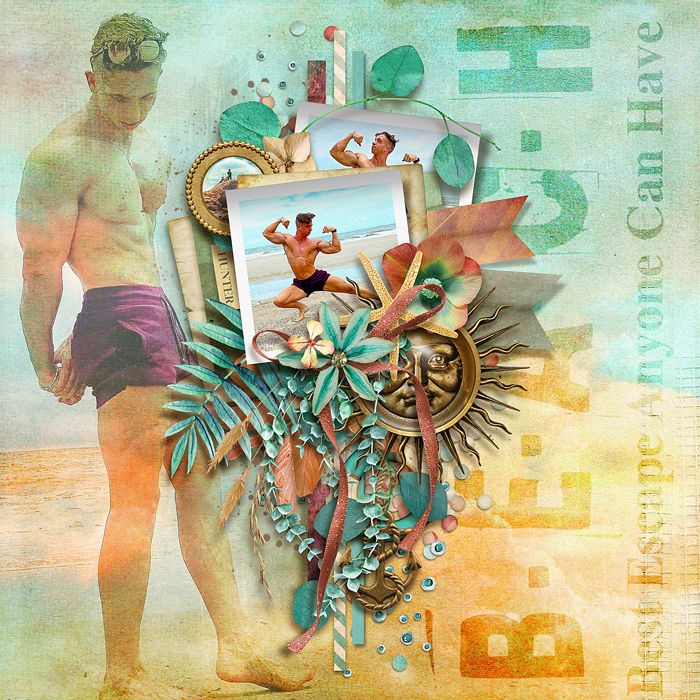
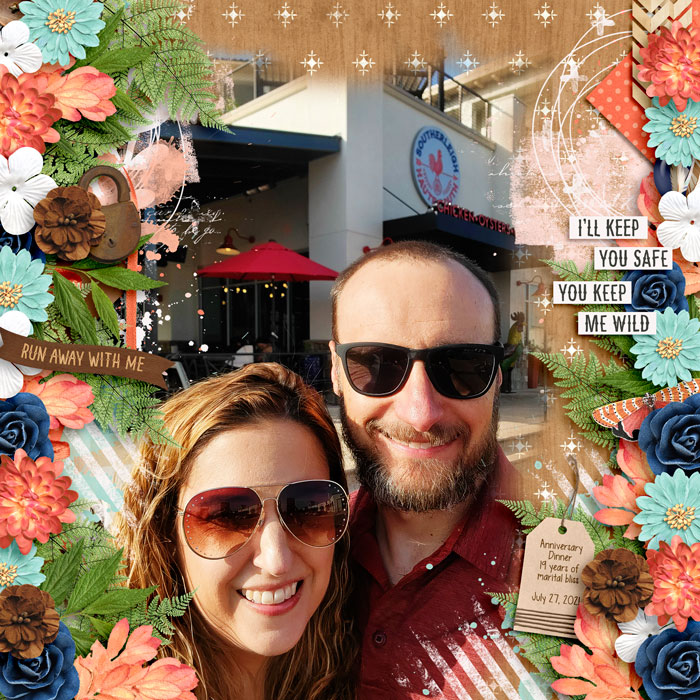
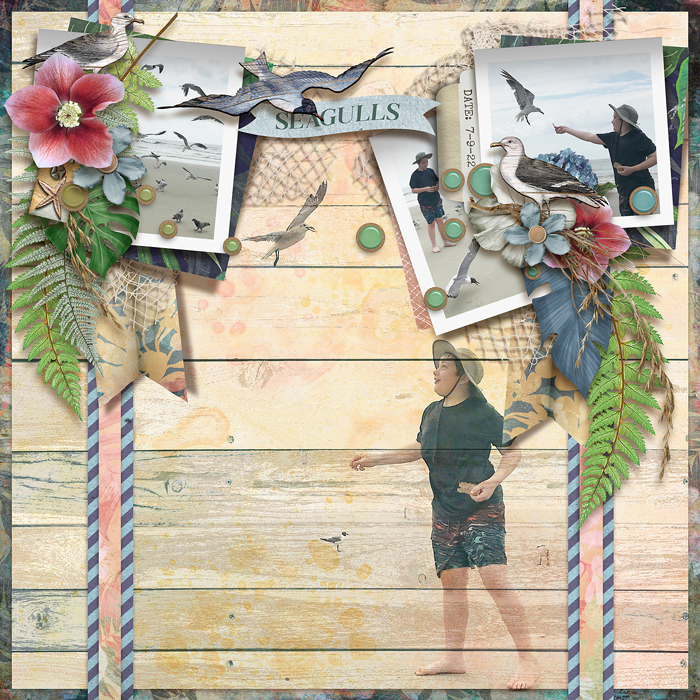
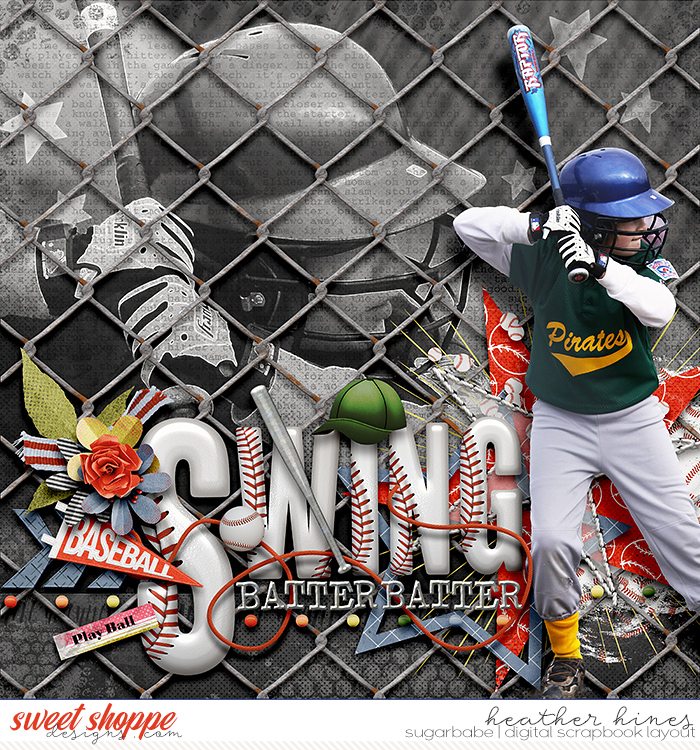
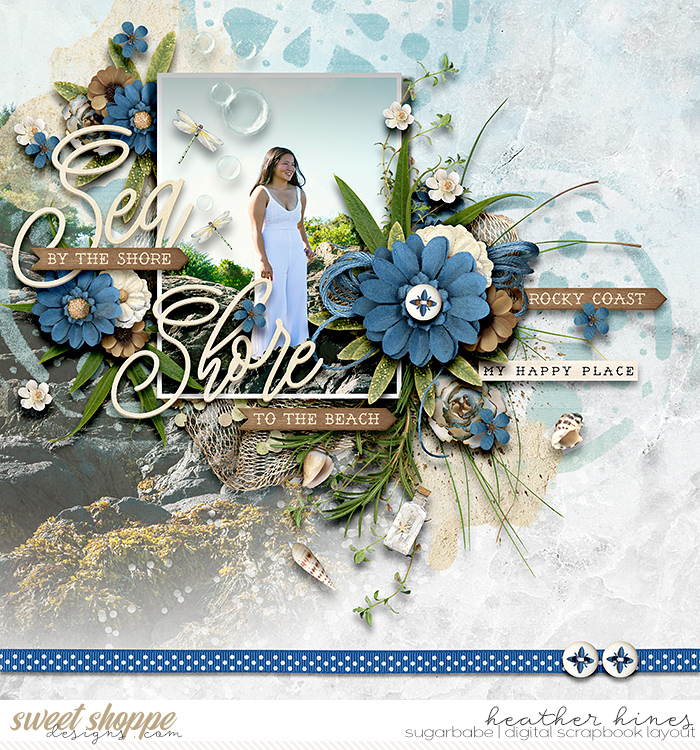
Backgrounds of pictures matter! The sky, water and sand here easily fade away.
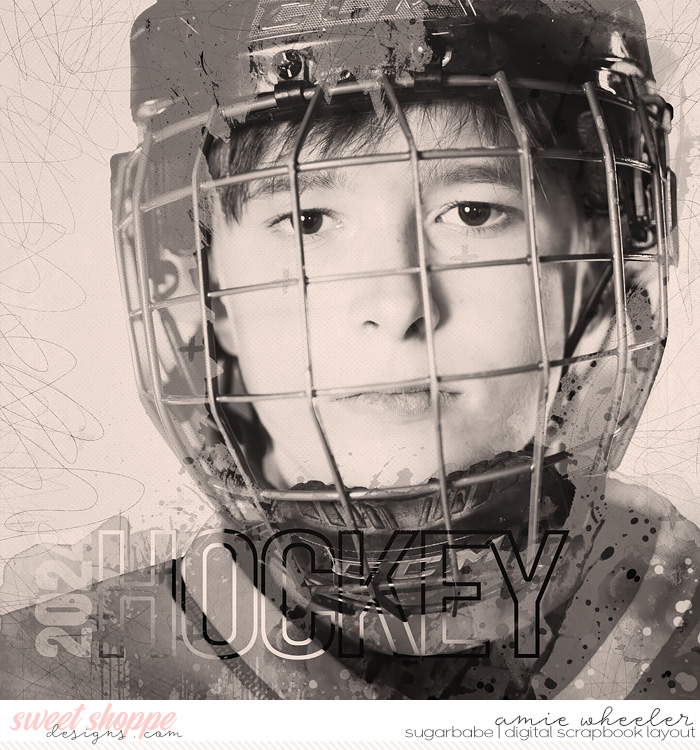
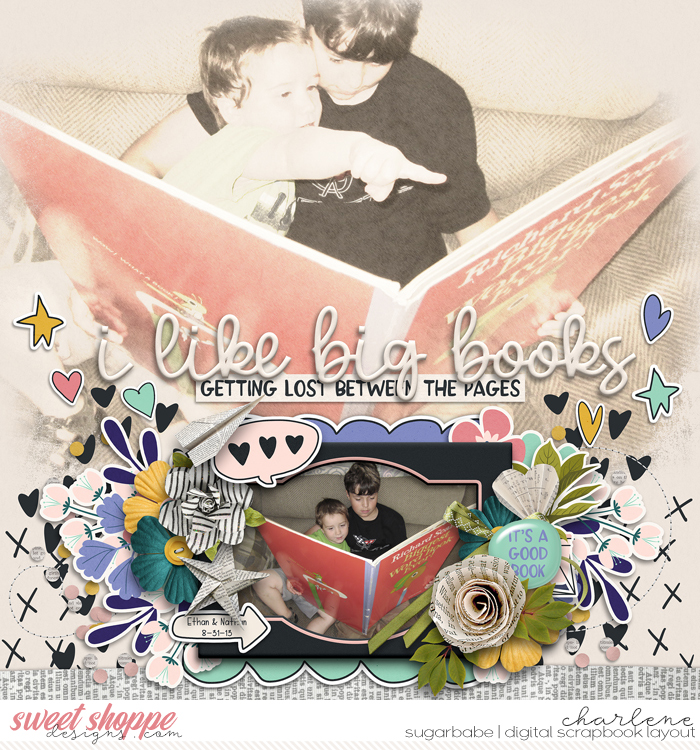
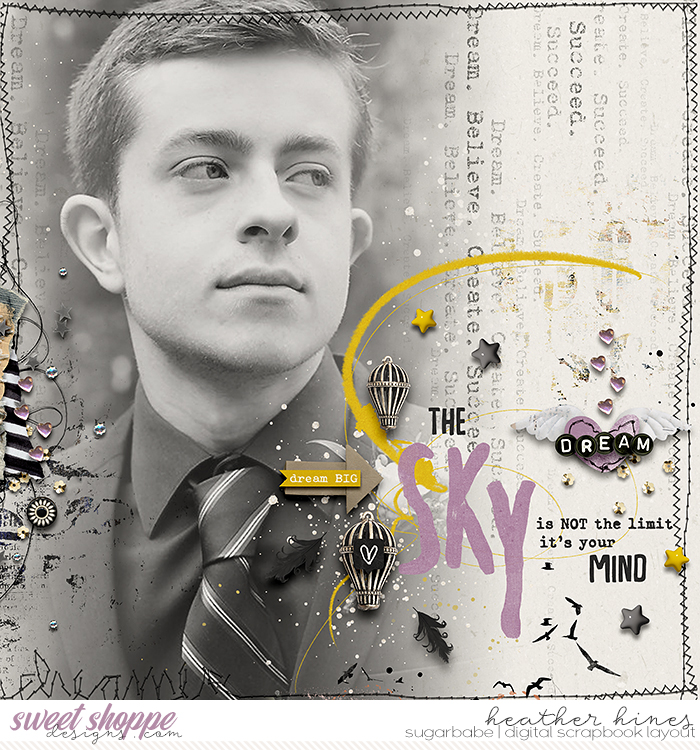
This is one that I changed the picture to almost all black & white. The concrete between the subjects (my husband and youngest son) and the camera was easy to use a layer mask and fade away.
The cream color carpet my fellas were lying on was helpful in blending it away.
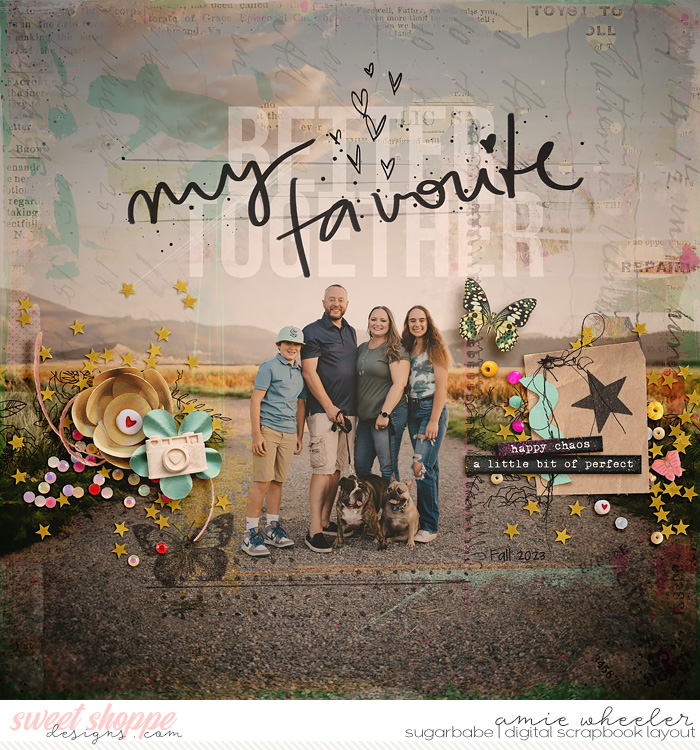
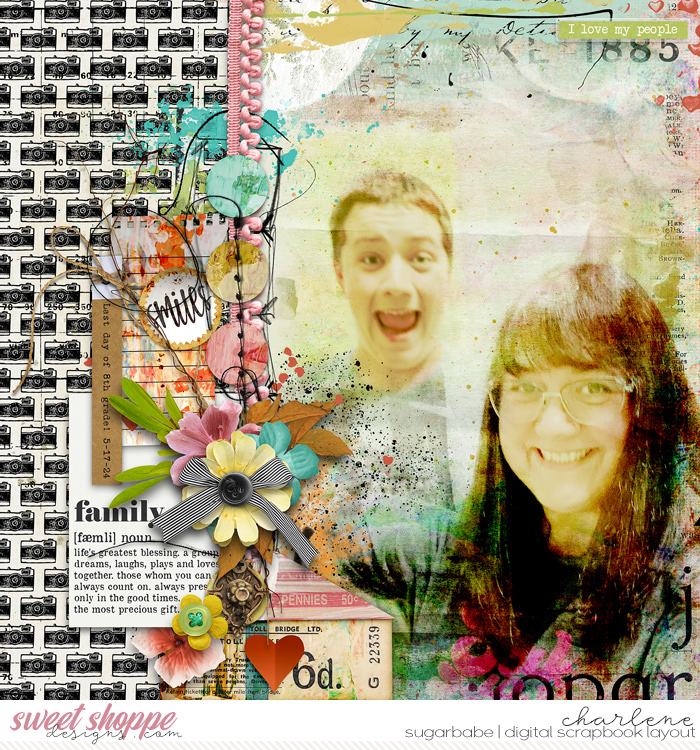
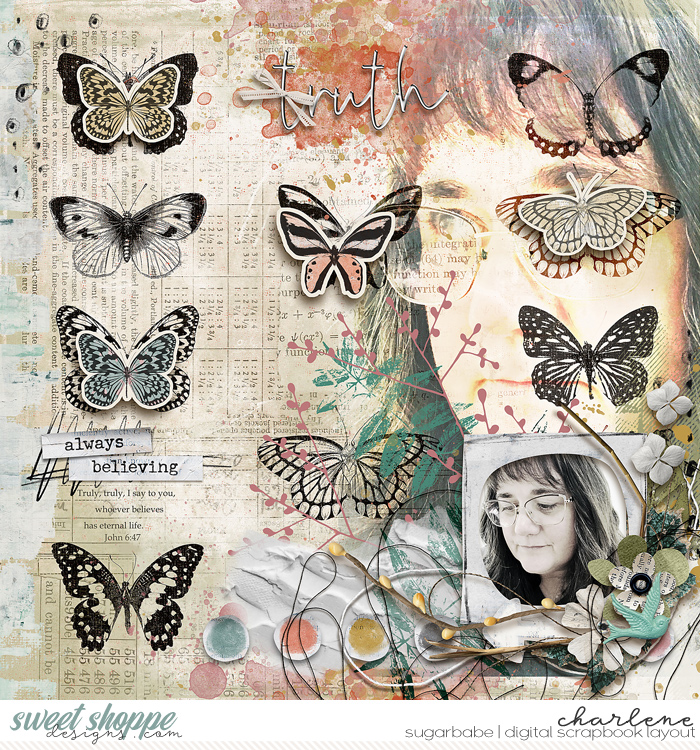
Had some fun with this one. Used a layer mask to take away everything but myself. Didn't mind if the edges (hair, etc) weren't perfectly masked.
I often like using a paper that shows some graininess/texture behind the picture.
One of my favorites. Just because. :wub:
Now, since I've already admitted that I don't feel super proficient at it, I KNOW there are others here that ARE.
Em (The Nifty Pixel) is such a pro at it! You should check out her gallery sometime. Lots of layouts throughout that have photos blended into the background.
Here's a couple:
Hmmm. Now that I've typed all of this, I should probably go look at the "Tutorials" tab/link up above and see if they already have information there.

Sarah, I hope this helped you a little bit. Play around with it!
If anyone else wants to jump in with some tips or inspiration, please do! :hugs:
Last edited:


") )
)